

Mounting the controller
Fit the TIS Tronic 260U to the UNI boiler lid, including the five-step adapter plate procedure for replacing an older TIS Tronic 83 regulator.
The TIS Tronic 260U mounts into the boiler lid through an adapter plate, and replaces the older TIS Tronic 83 in five steps. If your boiler shipped with the 260U already fitted, skip to First start.
Remove the old regulator first
Before installing the TIS Tronic 260U regulator, the previous TIS Tronic 83 regulator must be removed from the boiler with its casing.
This procedure applies to TIS UNI and TIS HARD PLUS 150 boilers.
Replacing a TIS Tronic 83
Bend the adapter plate
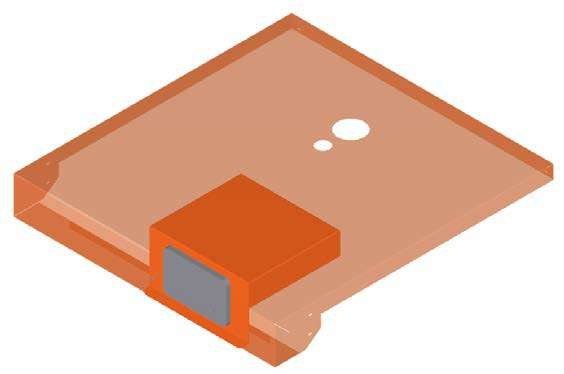
Bend the adapter plate (liner) up to a 90° angle.
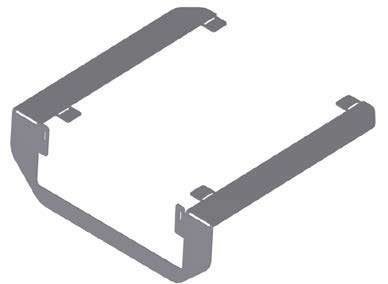
Place the liner inside the lid
Place the bent liner inside the lid of the boiler.
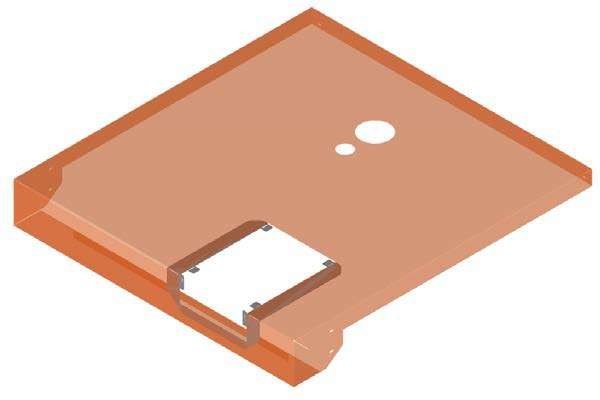
Fix the liner
Fix the liner on the cover by bending the four protrusions of the liner up through 180°.
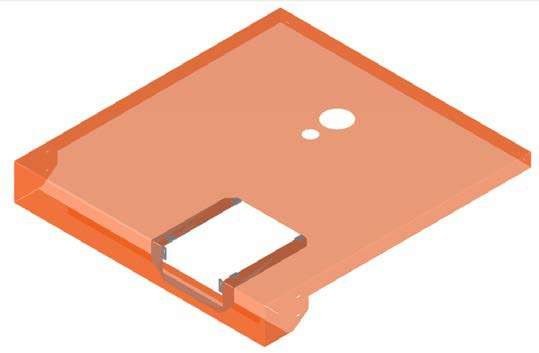

Set the regulator body in the lid
Set the body of the regulator on the lid of the boiler.
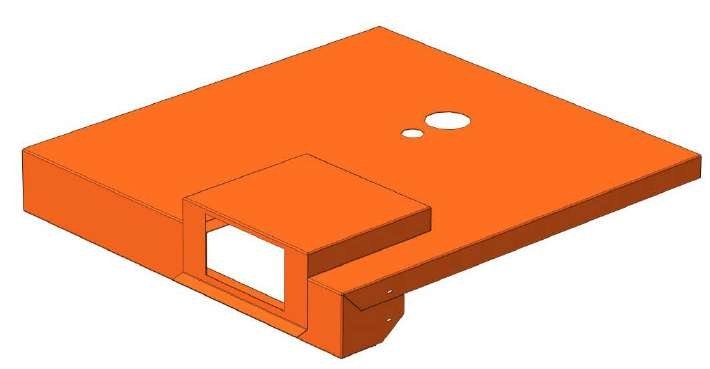
Screw down the control panel
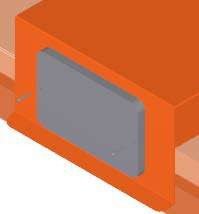
Screw in the two screws and mount the control panel of the regulator on the boiler's lid.
After mounting
Reconnect the sensors and outputs
Work through the terminal map: fan on Q1, pumps on Q3 / Q4, STB on I1, thermostat on I2, sensors on T1 / T2 / T3.
Check the panel ribbon
The front panel connects to the board at TR2_DISP. A blank screen after a swap is very often this connector.
Power up and verify
Switch on using the switch on the back panel. A welcome screen should appear, followed by a main screen, with the yellow STOP light constantly illuminated.
Warranty note
The controller may be connected and put into operation by an accredited representative. Unauthorised activation, changes to the device or repairs may degrade the boiler's operating parameters and safety, and lead to loss of warranty for both the regulator and the boiler as a whole.
Protect it from the environment
The controller must be kept from hard freezing, overheating, water, or a very high-humidity environment.
If water or condensation gets inside: disconnect it immediately, dry it with a hairdryer at a low temperature, wait 24 hours, then reconnect.
NextCommissioning checklistThe final pre-fire walkthrough before you light the boiler.
Room thermostat
Connect a room thermostat to terminal I2 on the TIS Tronic 260U — dry contact required, 24 VAC thermostats need an SPDT relay, and the contact logic must be inverted.
Commissioning checklist
The final pre-fire walkthrough for a UNI 60 — hydraulics, electrics, controller settings, draft and documentation — before the first fire is lit.